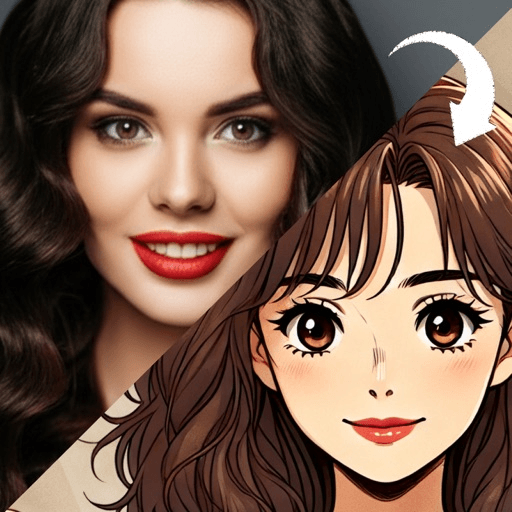
A photo to anime converter does not lay a filter over your pixels. It redraws your face in anime’s visual grammar: flat areas of color, one hard-edged shadow, clean outlines, larger eyes, and a simplified nose and mouth. Your hair shape, eye shape and expression carry over. Skin texture, fine wrinkles and small details are replaced.
Converters all promise this in the same words, and the results still range from a portrait you would happily post to a smeared stranger with your haircut. The difference is rarely the converter. It is what the conversion keeps, what it throws away, and whether your photo gave it the right things to keep.
What does a photo to anime converter actually do?
It translates. A filter adjusts what is already there: it shifts colors, sharpens edges, adds grain. A conversion reads the photo for structure, where the face is, where the eyes and hairline sit, which way the light falls, and then produces a new image in a different set of drawing conventions using that structure as its guide.
Those conventions are well documented. Wikipedia’s article on anime notes that art styles vary a lot, with one common characteristic being large and emotive eyes, and it describes the look more broadly as characters with large oval eyes, very defined lines, bright colors and reduced movement of the lips. The same article says hair in anime is often unnaturally lively and colorful or uniquely styled. Those three things, eyes, line and hair, are where a converter spends its effort.
The flat coloring has a technical history. Anime is a moving-image form, and Tate defines animation as the rapid display of sequences of static imagery that creates the illusion of movement. A look designed to be drawn thousands of times favors shapes that can be filled cleanly and repeated. Computer graphics borrowed the result: Wikipedia describes cel shading as a rendering technique designed to make images appear flat and hand-drawn, often used to mimic the style of a comic book or a cartoon. When a converter gives your cheek one light tone and one shadow tone with a crisp edge between them, that is the convention it is reproducing.
What survives the conversion, and what gets replaced?
Knowing this split lets you predict a result before you run it.
What survives:
- Your hair silhouette. The outline of your hair is the strongest identity cue the style keeps, and anime tends to exaggerate it rather than tame it. A distinctive cut stays distinctive.
- Eye shape and spacing. The eyes get bigger, but their angle and how far apart they sit usually carry over. The Victoria and Albert Museum notes that in manga and anime, male eyes are often drawn more angular than female eyes, so the style has more than one eye shape to map you onto.
- Expression. A real smile converts into a drawn smile. A neutral face converts into a neutral face. The style will not invent warmth that is not in the photo.
- Glasses, earrings, a hat brim. Strong accessories are read as shapes and kept.
- The direction of the light. Wherever your shadow falls in the photo is roughly where the single hard shadow lands in the drawing.
What gets replaced:
- Skin texture. Pores, freckles, stubble and blemishes mostly vanish into flat color. Some people love this and some feel erased by it.
- Nose and mouth detail. These shrink to a few marks. If your nose is your most recognizable feature, anime is not the style that will show it.
- Proportion, but only slightly. Wikipedia notes that anime body proportions tend to reflect real human proportions, which is the main thing separating it from chibi, where the head takes over the frame. If you want the oversized-head look, that is a different style, covered in what chibi style is.
- Background. Busy backgrounds are simplified or repainted, which is usually an improvement.
Which photos convert well, and which do not?
The general rules in how to turn a photo into a cartoon apply, but anime has a few specific sensitivities.
Good candidates: a single face filling a third of the frame or more, light from the front or slightly to one side, both eyes clearly visible, hair not hidden under a hood. Anime is built on line and flat shape, so a photo with clear edges between hair, face and background gives it something to draw.
Honest limits. Some photos simply do not convert well, and it helps to know which before you blame the tool:
- Hands. Fingers near the face are the most common failure. They come out fused, extra or oddly bent. Crop them out or move them.
- Glasses with glare. A white reflection across a lens reads as a shape and gets drawn in, sometimes covering an eye entirely. Tilt the glasses slightly down or shoot away from the window.
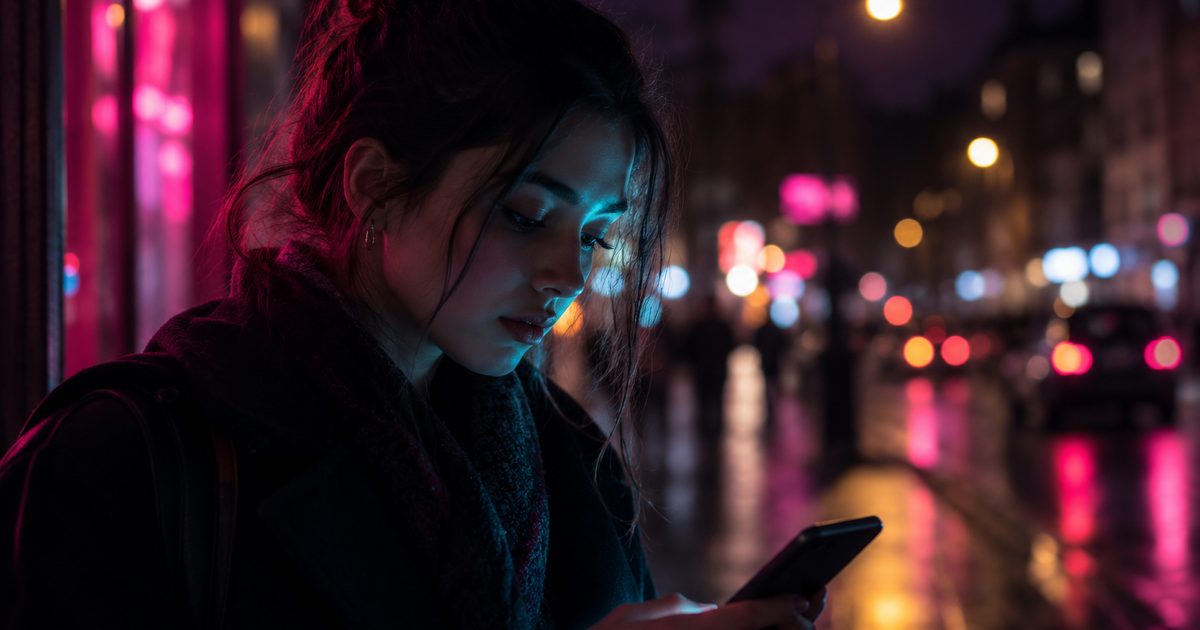
- Heavy backlight. A bright window behind you leaves your face in shadow, and the converter has no edges to work with. The result looks muddy because the photo was.
- Group shots. Several small faces split the conversion’s attention, and each one tends to come out slightly wrong. Crop and convert people separately.
- Low resolution. A screenshot of a photo that has already been through a chat app is soft before the conversion starts, and that softness survives as smudged line work.
How do you judge a result in ten seconds?
Look at these four things, in this order, before deciding whether to keep it:
- The eyes. Are they the same size and pointed the same way? Mismatched eyes are the single biggest tell of a weak conversion.
- The outline of the hair. Does it match your real silhouette? If the hair shape is wrong, the portrait will not read as you at any size.
- The edges. Clean, confident lines mean the converter found your structure. Wobbly or doubled lines mean the photo was too soft.
- The hands, if any. Count the fingers.
If the first two pass and the last two fail, regenerate. If the first two fail, change the photo. A generation is an interpretation rather than a tracing, so two runs of the same photo are genuinely different drawings, and the second or third run is often the keeper.
Which kind of converter should you use?
There are roughly three kinds, and each is honest about something different.
Free web converters are the quickest way to see whether you like the look at all. The usual trade is credits, sign-ups, watermarks and uploading your face to a site you know little about. Fine for a test, worth thinking about for anything personal.
General photo editors with an anime effect are convenient if you already use one, and their anime option is one effect among dozens. Results vary with how much attention that one effect gets.
Dedicated cartoon apps trade breadth for focus: fewer looks, each tuned for faces. The anime look also sits close to its print cousin, the manga style portrait, which moves the same line-first drawing into black, white and gray tone. The V&A describes manga as using core shapes such as triangles, sharp edges, angles and strong lines, and if that crisper, graphic register is what you actually want, it is worth knowing the name for it.
Toonsta is one of the dedicated options. Its anime style filter is one of the five looks the app ships, alongside the 3D cartoon avatar, the voxel art avatar, the retro cartoon filter and the storybook illustration, and it runs the same way this post describes: upload one clear photo, generate, regenerate until the eyes and the hair are right.
Whichever route you pick, the photo decides more than the converter. Get the face big in the frame, the light in front of you and the hands out of the way, and most converters will give you something worth keeping.