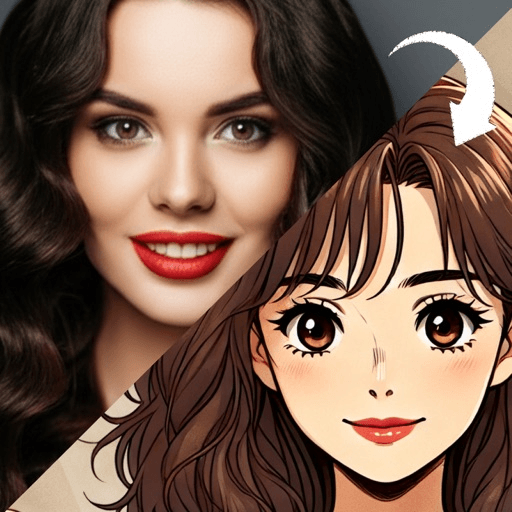
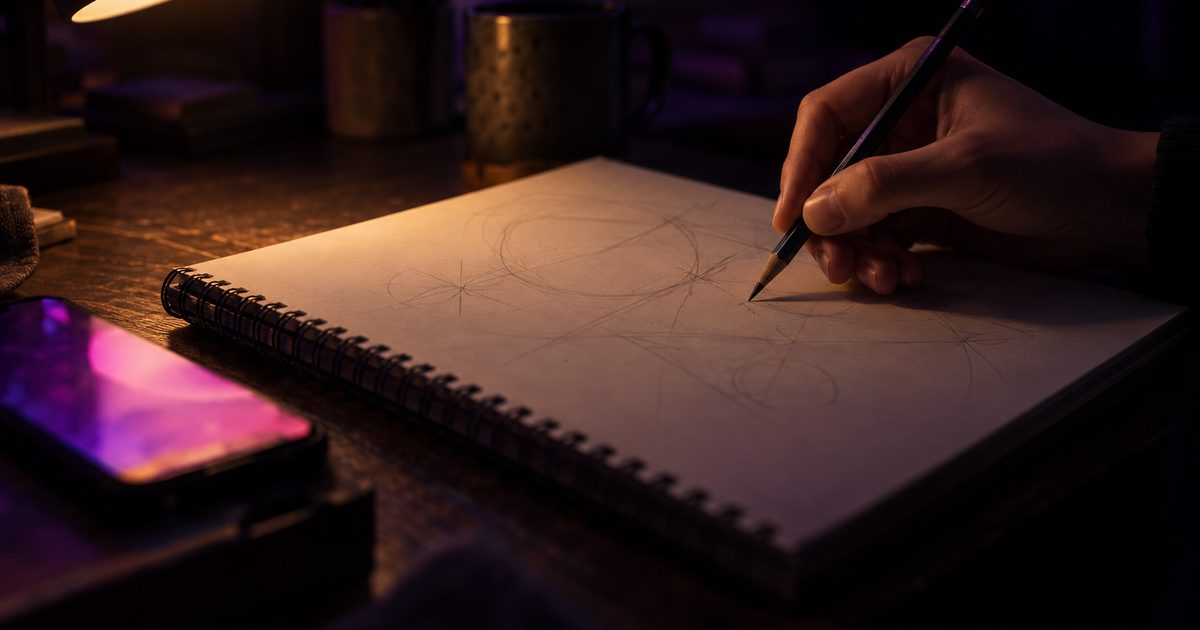
To draw yourself as a cartoon when you cannot draw, stop trying to copy your face and build it from four decisions instead: the shape of your head, where your eyes sit, the outline of your hair, and one feature you exaggerate. Sketch those as simple shapes from a straight-on photo, then erase everything else.
That is the whole method, and it works because a cartoon is not a small realistic drawing. It is a short list of choices. People who say they cannot draw usually mean they cannot render: they cannot make shading look like skin or get a nose to sit right in three dimensions. A cartoon does not ask for any of that.
Why is a cartoon easier than a realistic portrait?
Because it is mostly line, and line is the part anyone can control. Tate defines drawing as essentially a technique in which images are depicted on a surface by making lines, though drawings can also contain tonal areas and washes. A realistic self-portrait lives in those tonal areas. A cartoon mostly skips them. You decide where a few lines go, and you are finished.
The word itself is a useful reminder of how unfinished a cartoon is allowed to be. Wikipedia notes that the term originated in the Middle Ages and first described a preparatory drawing for a piece of art such as a painting, fresco, tapestry or stained glass window. Only in the 19th century did it come to mean a humorous drawing in a magazine. A cartoon started life as the plan, not the masterpiece, and you can treat yours the same way.
What do you need before you start?
A pencil, an eraser, a pen for the final lines, and one photo of yourself: straight on, even light, both eyes visible, hair uncovered. Do not work from a mirror if you can avoid it. Wikipedia’s history of self-portraiture connects the spread of the form to better and cheaper mirrors from the mid-15th century, and mirrors did make it possible, but a mirror flips you left to right and moves every time you look down at the page. A photo holds still.
If you do not like how you look in your photos, the checks in how to turn a photo into a cartoon will get you a better one in five minutes. The same photo will also be useful later if you decide to generate a version instead.
How to draw yourself as a cartoon, step by step
Work lightly in pencil for the first four steps. None of these lines are final.
- Draw the head shape. Look at your photo and ask one question: is my face closer to a circle, an oval, a square, a heart or a long rectangle? Draw that shape, slightly bigger than feels right. Cartoon heads are generous. Include the jaw and chin in the shape, not as an extra.
- Place the eye line. In most faces the eyes sit lower than beginners expect, near the middle of the head. Draw a light horizontal line there. In a cartoon you can move it down a little further to make the face read younger and softer, or up to make it read older.
- Draw the hair as one outline. Not strands. Trace the overall silhouette of your hair against the background in your photo as a single shape, then add two or three lines inside it to show the direction it falls. This is the step that makes the drawing look like you, because hair silhouette is what people recognize from across a room.
- Add the features as marks. Two eyes on the line, simple shapes with a dot for the pupil. A nose as a short curve, a hook or even just a shadow on one side. A mouth as a single line that matches your photo’s expression. Keep them small at first; you can grow the one that matters in the next step.
- Push one feature. This is where a drawing of a face becomes a cartoon of you.
- Ink the lines you are keeping, then erase the pencil. Vary your line weight a little: a thicker line on the outside of the head and hair, thinner lines inside. That one habit makes a beginner drawing look deliberate.
How do you pick the one feature to push?
This is where most self-portrait attempts go wrong, and where a little art history helps. Tate records caricature appearing in Italian art around 1600 and the word first appearing in English in 1748, and for four centuries the working method has stayed the same: find what is already distinctive and make more of it. A cartoon of you does not need everything about you. It needs the thing that is most you.
Three quick ways to find it:
- Shrink your photo. Look at it at thumbnail size on your phone. Whatever you can still make out when the face is tiny is your feature: a strong brow, round cheeks, a wide smile, big curly hair, heavy glasses.
- Ask someone. Ask a friend what they would draw first if they had to draw you in ten seconds. People answer this instantly and are usually right.
- Check what you choose. Glasses, a hairstyle, the earrings you always wear. Features you picked are safer to exaggerate than features you were born with, and they read just as clearly.
Then push it by about a third. Rounder cheeks, bigger glasses, taller hair. If the result feels unkind, you pushed the wrong feature, not too much of the right one. The caricature generator page shows how far this goes when exaggeration is the whole point.
What are the most common mistakes?
Drawing what you think a face looks like. Beginners draw an almond-shaped eye because that is the idea of an eye, whatever the photo shows. Keep checking the photo. Is your eye actually rounder, narrower, more hooded?
Too many lines. Every extra line is a chance to be wrong. If a line does not help someone recognize you, erase it. Cheekbones, nose sides and neck lines are the usual suspects.
A perfectly symmetric face. Real faces are not symmetric, and a slightly lopsided smile or one raised eyebrow makes a cartoon feel alive.
Stiff expression. A neutral mouth in a cartoon reads as bored. Draw the expression you want the picture to have, even if your photo is neutral.
Which cartoon look should a beginner try?
Pick a look that rewards simple line rather than rendering. A clean outline with flat color, like the retro cartoon filter style, forgives shaky shading because there is none. A loose pencil sketch filter look forgives wobbly lines because the wobble is part of the style. The oversized-head proportions described in what chibi style is are the most forgiving of all, since a head two or three times too big hides almost any placement error.
The hardest looks for a beginner are the ones that depend on smooth tone: painted portraits and anything that tries to look three-dimensional.
What if you want the result without the drawing?
Then generate one from the photo you already have, and treat it as a reference rather than a replacement. A generated version is an interpretation of your face, not a tracing of it, but it is a good way to see which feature a style decides to push and which of your details survive. Plenty of people generate a few, pick the one that looks most like them, and redraw it by hand. The guide to what a photo to anime conversion changes walks through how to read a generated result the same way.
Toonsta is one place to do that: upload the photo from step one, try the retro cartoon filter or the 3D cartoon avatar, and regenerate until one version gets your hair and your feature right. Then sketch next to it, or just keep it. Both count.